Valentine is near and it's time for some new Heart tutorial.
This is the image of what we're going to create.

Notice that I'll be using lots and lots of shortkeys in this tutorial; in the future it will make your workflow way shorter.
Let's begin!!!
1. Open a new document for your illustration. (Alt+ N) and make it square. I've made mine 200mm by 200mm.

2. Create a perfectly shaped circle on your artboard. To do so press L on your Keyboard and then Shift+Alt+Drag until you're circle fills half of the artboard.

3. Press Shift+C on your keyboard to select a Convert Anchor point.

4. Press A on your keyboard, choose both vertical points of the circle and hold the Down arrow on your keyboard you have a nicely shaped heart end.

5. Now choose an upper anchor point of a new shape and drag it down until it almost levels with the vertical points of the shape.

6. Press A, then the Alt key and raise the handles to almost vertical position so your heart gets a nice curvy shape. The basic shape is ready.

7. Now let’s add so some color to it. Choose a dark burgundy color from your color picker.

8. Go to Effect - Stylize - Inner glow.
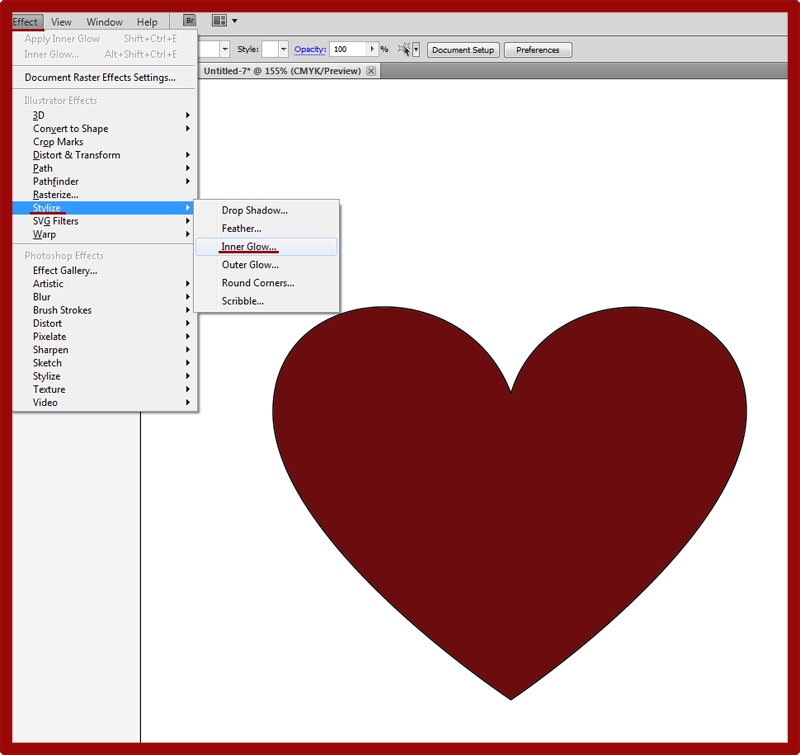

This is it. Your red glowing Valentine heart is ready.
Have a great Valentine's Day :)
Wonderful Design Blogs, Such a great list. Thanks for sharing all these blogs all are very useful to every one
ReplyDeleteWebdesign Belgium